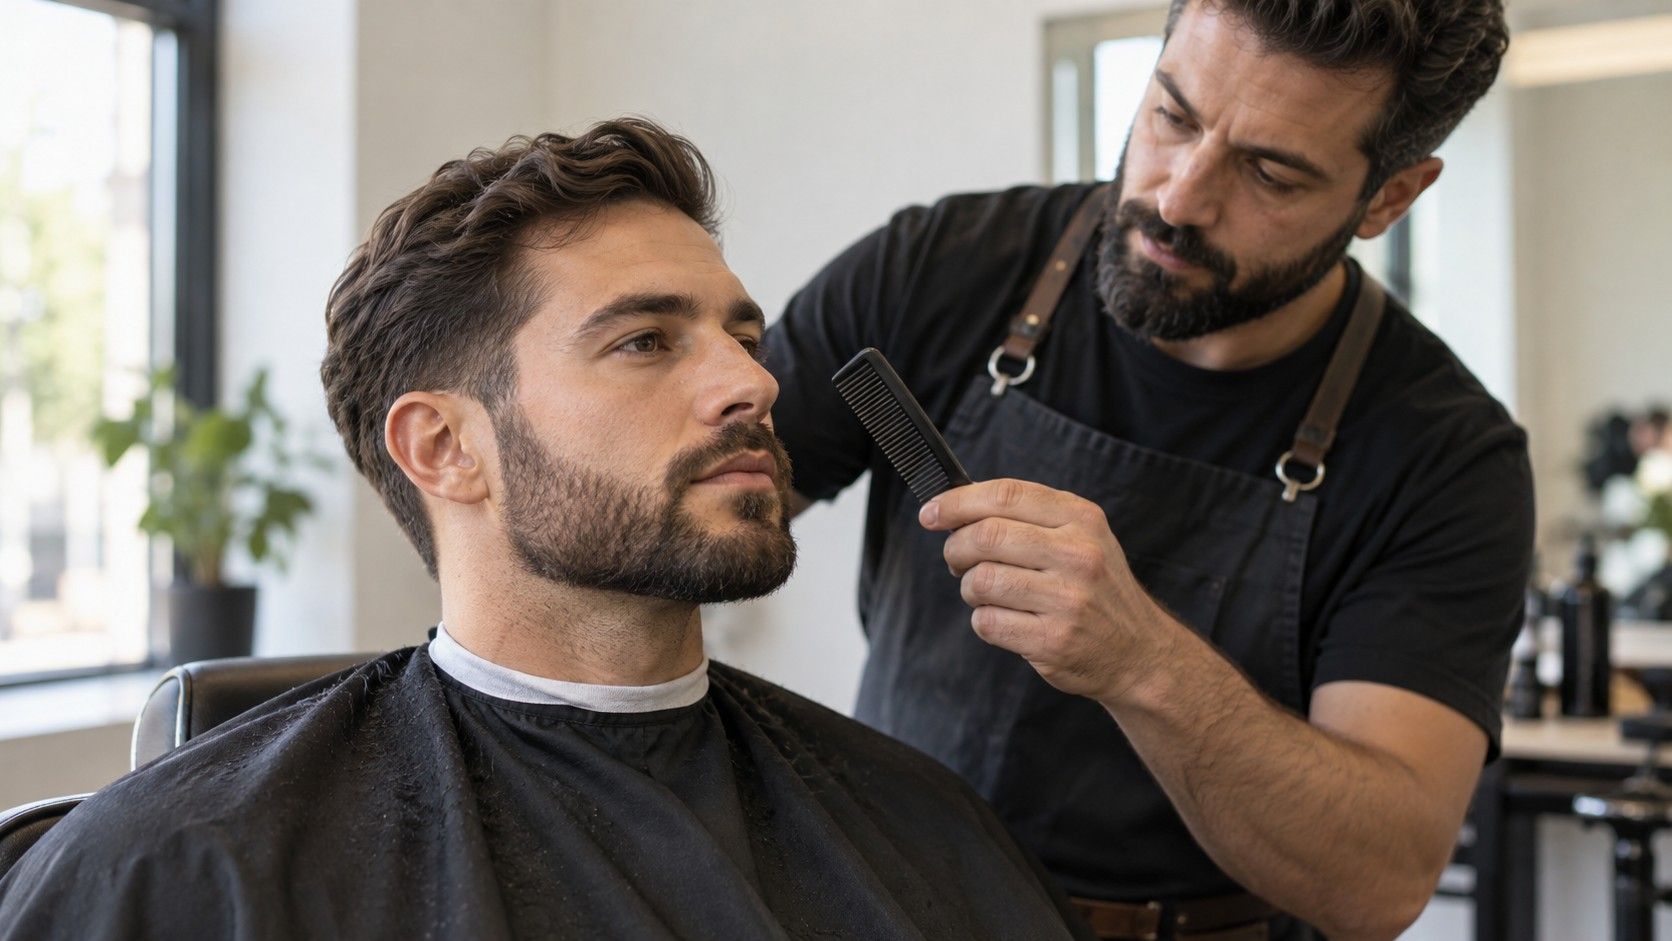
A beard changes the visible outline of the lower face, but it does not have to follow a formula for your face-shape category. The useful choices are more concrete: how much fullness to keep at the sides, where the chin should end and how sharply to define the edges. Start with your growth pattern and the upkeep you enjoy. A shape that looks good after careful brushing may be a poor fit if you prefer to wash, dry and leave.
Start with growth pattern and your preferred upkeep
Look at the beard when it is clean, fully dry and arranged as you normally wear it. Wet or tightly brushed hair can lie flatter or stretch farther than it does during the day. Notice where the hair is dense, where the skin shows through and which areas change direction. A swirl beneath the jaw or a sparse connection near the moustache can affect the outline more than the name of your face shape.
Choose reference photographs with growth that resembles yours where possible. A full cheek line cannot be copied simply by drawing a higher edge through a sparse area. Likewise, trimming a dense beard to the length seen on someone with finer hair may produce a different amount of coverage. The reference should explain the silhouette you like, while your own density determines how to approach it.
Decide how much regular work you want. A crisp cheek edge and a very short fade into the sideburns may need attention sooner than a soft natural boundary. A longer chin section may need combing or brushing to sit consistently. Ask yourself whether you want a close, easily washed beard, a fuller outline or a particular shape that you are happy to maintain. None is a more correct choice for a face category.
If the beard is still growing towards your intended length, avoid cutting every uneven-looking section immediately. Different areas can emerge at different rates, and trimming a short patch to match another short patch may keep the whole beard below your goal. That does not mean waiting will fill every sparse area. Review what has actually grown and choose a shape that uses it, rather than relying on a promise of future coverage.
Compare chin length with side width
The relationship between chin length and side length changes the beard’s silhouette. More length beneath the chin can make the visible lower outline appear longer. Fullness along the sides can make it appear broader. These are visual tendencies, not guarantees: curl, density, posture and the way the ends sit also matter. You may want either effect, or prefer to preserve the outline you already have.
Look straight ahead with your shoulders relaxed and a neutral expression. Check the front and both profiles before deciding which section needs less hair. A long point beneath the chin may look balanced from the front but project more than you expected in profile. Broad sides may be comfortable and intentional, or may simply be hair that has dried outwards. Brush it into its usual position before reaching for a trimmer.
When comparing beard shapes, face shape can be a loose description, but it should not dictate a correction. A person with a long face may enjoy a long beard; someone with a broad jaw may like substantial side fullness. Replace “What must I hide?” with a specific preference such as “I want the sides closer and a softly rounded chin.” A barber can act on that request without agreeing on a category.
Guard settings are a starting point, not a reliable map of the finished outline. Hair growing against the direction of a pass may be cut differently from hair lying with it, and guards vary between tools. If you want a change in beard length around the jawline, start with a longer setting than you think you need, make a small test in a less conspicuous area and inspect the result. Do not take a short pass through the centre of the chin merely to check the guard.
For a substantial change, discuss how the sideburns will connect to the beard. An abrupt step and a gradual transition create different effects near the ears. Check the connection alongside your haircut and ask how to maintain it.
Place cheek edges conservatively
The cheek line is the upper boundary of the beard along the cheeks. Begin by identifying the main natural area of coverage and the few isolated hairs above it. Removing those strays can make an edge look tidier without lowering the whole line. Keep the first pass modest, especially if you have never shaped that area before.
A straight, curved or softer cheek edge can all work, depending on the beard and the look you prefer. There is no universal route from one exact point near the ear to one exact point beside the mouth. A diagram may ignore your growth pattern, the way the moustache connects or the slope of the cheek. Use it as a reference for the type of edge, not a stencil that must be imposed.
Keep enough distance from the mirror to see the whole face between small adjustments. Close inspection encourages you to chase individual hairs while losing track of the overall boundary. Check each side with your head level, rather than tilting to make the lines match. Natural facial and growth differences can make perfectly identical drawn lines look less balanced once you return to your usual posture.
If one side has a slightly lower patch, do not automatically lower the fuller side to match its sparsest point. You may prefer a soft edge, a little natural variation or a shorter overall style. Once a large strip has been shaved away, the immediate options are limited. Pause before changing the line again, and let a barber assess a difficult connection if repeated home adjustments keep making it lower.
Find a comfortable neckline without chasing symmetry
The neckline controls the lower boundary where beard meets neck. Its placement depends on beard length, growth, neck movement and the look you want. A short beard with a visible edge and a long beard covering part of the neck do not need the same approach. There is no single finger-width rule or landmark that produces the right neckline for everyone.
Begin with your head in a normal position. Identify which hairs clearly sit apart from the intended beard and which contribute to its lower outline. Tipping the chin far upwards can expose the skin for access, but it also changes how that area stretches. Return to a relaxed position to judge the boundary before taking another pass. An edge that looks tidy only with the neck extended is a poor guide to everyday appearance.
Work conservatively at the centre and towards each side. Avoid cutting a high line directly into the underside of the jaw because a diagram labels that position “definition.” On some beards, removing that support leaves the lower edge looking thin or disconnected when viewed from the front. Keep more initially, then assess whether a small change would improve the shape you actually want.
Comfort belongs in the decision. A close razor finish can require more frequent work than a short trimmer finish, and repeated passes may bother the skin. Use clean tools as directed and avoid repeatedly shaving the same spot to perfect a tiny mismatch. If the skin becomes irritated, stop the shaping session rather than trying to sharpen the boundary further. A softer edge is an acceptable finish.
Trim gradually and reassess in neutral light
Before trimming, decide on one change: less width at the sides, a shorter chin or a cleaner boundary. Trying to transform every area at once makes it harder to see why the silhouette changed. Take a photograph from a steady, reasonably distant camera position if you want a comparison. Keep the lighting, head position and image orientation consistent; an arm’s-length picture from above can change the apparent proportions.
Trim dry hair in its usual arrangement unless your tool instructions or barber’s method call for something different. Use small passes, comb or brush the hair back into place and step away from the mirror. Check in even room light or indirect daylight. A bright light from one side can make one cheek look denser and encourage unnecessary removal on the other.
For longer sections, avoid lifting a handful and cutting everything that projects without knowing how it will fall. Curls can spring back, and tension from a comb can change the apparent length. If you cannot see the lower outline clearly, ask a barber to establish it and explain how to maintain it. Photograph the result from the front and side for your own reference, with permission if the barber is in the frame.
After the first adjustment, leave the beard alone long enough to see it through normal washing, drying and movement. Note whether the sides still spread, the chin needs constant arranging or the edge demands more upkeep than you want. Use that information for the next small change. A workable beard shape is one you like from more than one angle and can maintain without turning every mirror check into another trimming session.