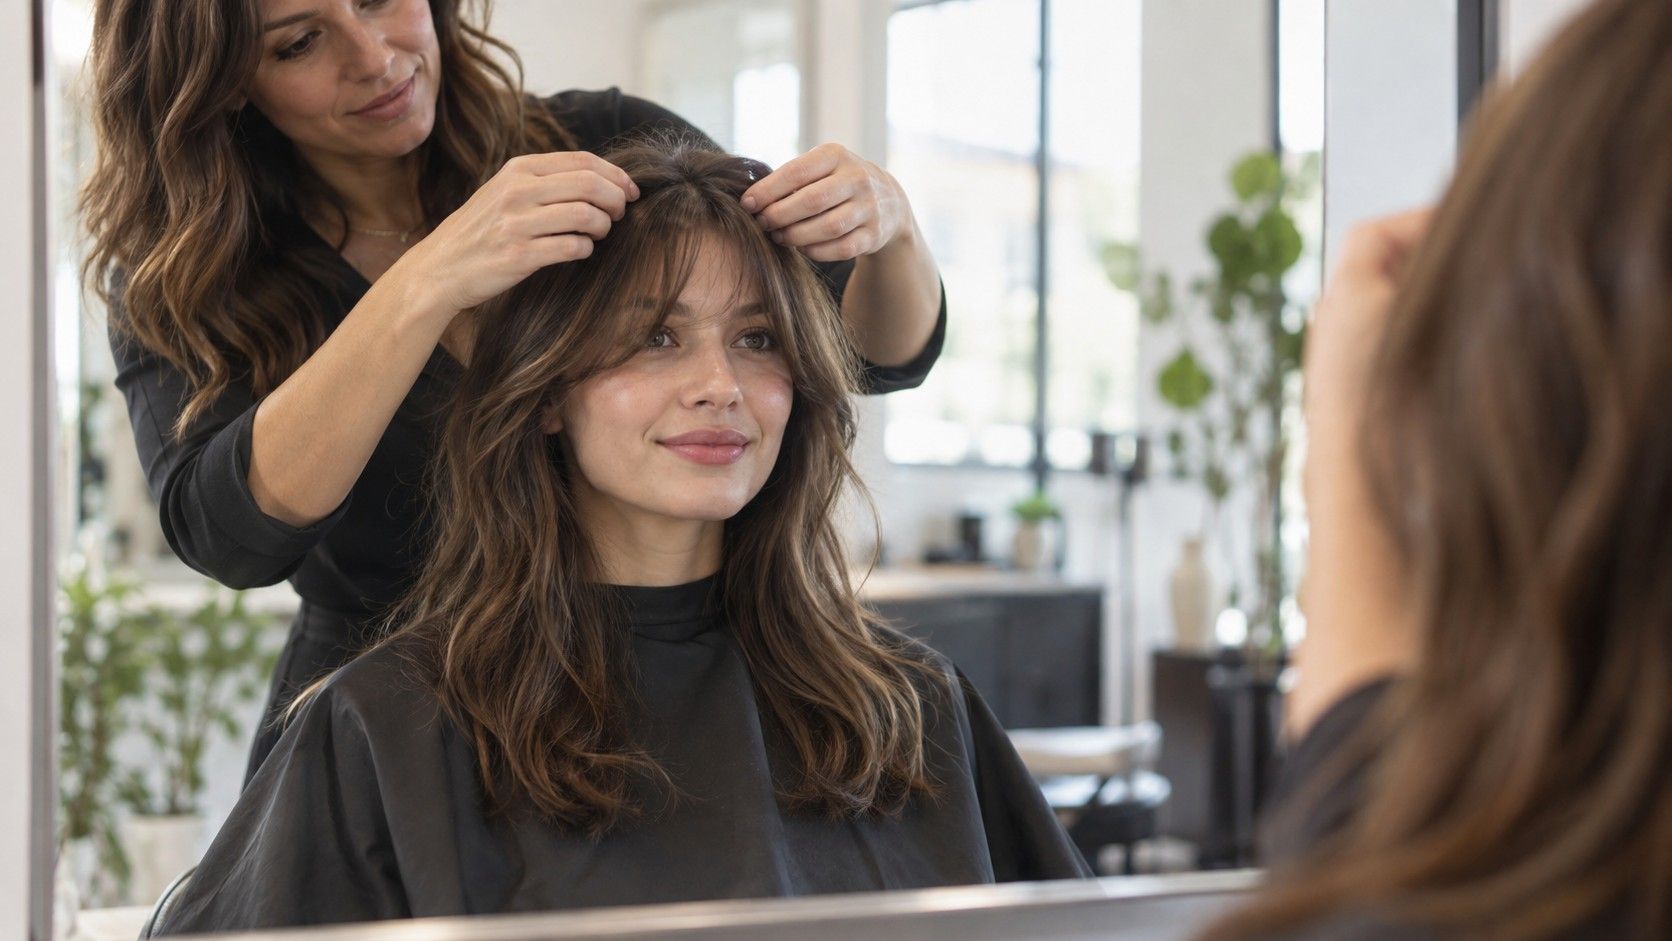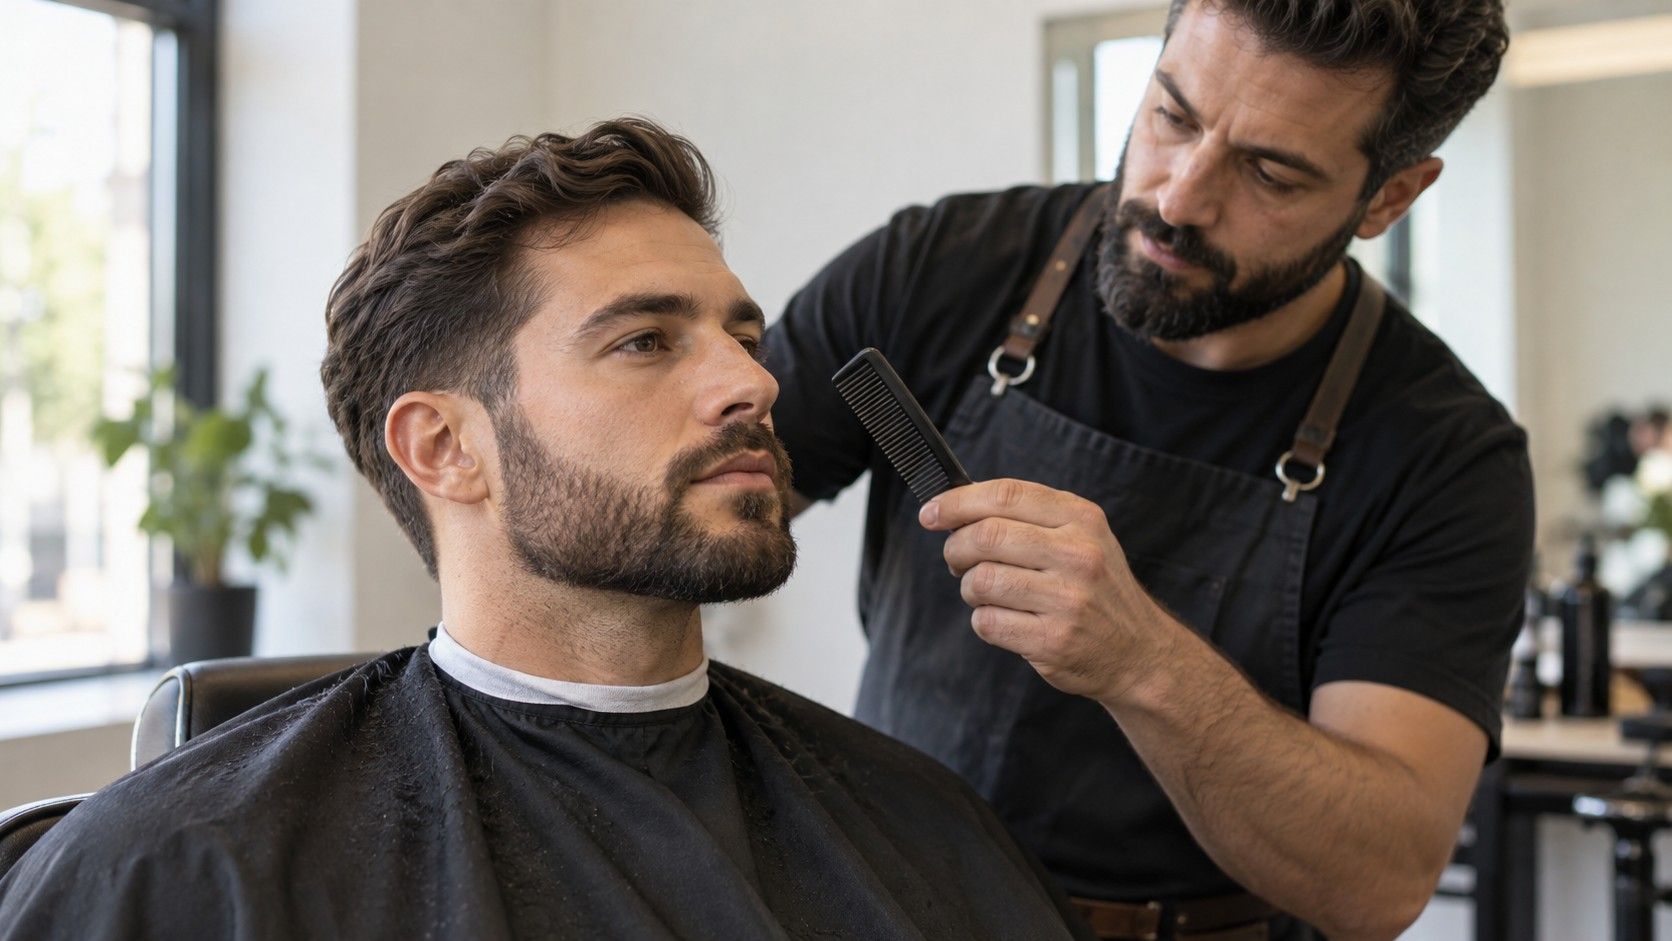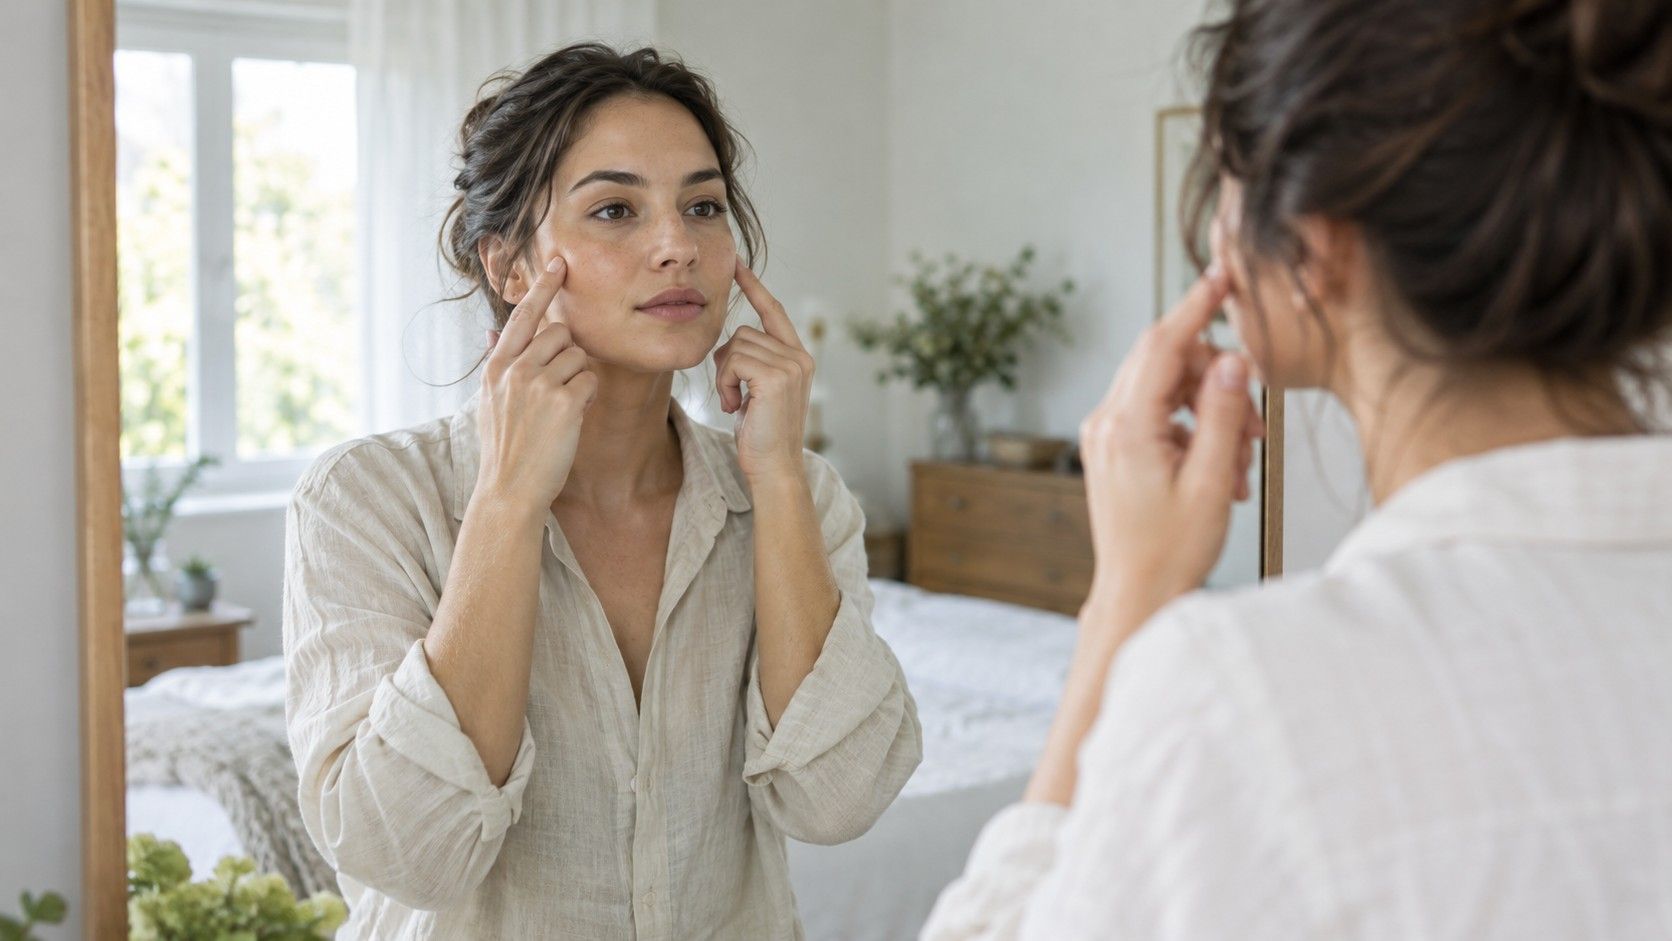
A face can look round in one picture and long in the next, which makes choosing a label surprisingly frustrating. If you are wondering how to find your face shape, start with a repeatable view and a few broad comparisons. A mirror, a flexible measuring tape and a note on your phone are enough. The aim is a useful description of your outline, not a perfect result from a test: oval, round, square and similar names are styling conventions, and many faces combine features from several groups.
Set up a view you can compare tomorrow
Stand in front of a mirror with your head upright and your eyes looking straight ahead. Use even light that lets you see both sides of the jaw. Strong side lighting can turn a soft cheek into a sharp edge, while an overhead light may obscure the boundary below your chin. Keep your expression relaxed and your teeth unclenched. A smile changes the cheeks enough to distract from the outline you are trying to compare.
Move hair away from the temples and forehead without pulling it so tightly that you lose sight of the hairline. Take off glasses for this first check. Look at the face itself rather than the silhouette made by a haircut, a hood or a beard. You can put everything back afterward to see how your everyday appearance differs from the underlying outline.
If you want a reference picture, keep the camera near eye level, face it directly and move it farther away than a close arm's-length selfie. Crop the picture afterward if necessary. The nearest parts of a face can look larger in a close photograph; changing distance can therefore change the impression of your proportions. A straight-on photograph is a supporting reference, not a more truthful substitute for every mirror view.
Record four comparisons without chasing a perfect number
Write down face length, forehead width, cheekbone width and jaw width. Measurements help you notice relationships that a hairstyle can hide. They do not need to reach laboratory precision. Use the same landmarks and method on each attempt, and repeat a reading if it looks implausible. If two widths are almost the same, record them as similar rather than treating a tiny difference as decisive.
For face length, compare the middle of your visible hairline with the lowest point of the chin. A widow's peak, receding hairline or uneven growth can make the starting point uncertain. Note that uncertainty instead of moving the endpoint until a category fits. For forehead width, choose matching points on the left and right where the forehead approaches the temples. Avoid quietly substituting the widest part of your hairstyle.
At the cheeks, compare the outer cheekbone areas on either side below the outer eyes. At the jaw, use matching points near the back corners of the lower jaw. Keep a flexible tape away from your eyes, and do not press it into the skin. A tape that follows the curve of the face measures a different path from a straight width. Either can help you compare repeated observations, but mixing them produces confusing figures.
Use the numbers as prompts: is the face noticeably longer than it is wide, are the cheeks the broadest area, and does the lower face narrow? There is no single scientifically established ratio that assigns every person to one styling shape. An online chart with sharp numerical cutoffs may appear precise while ignoring the placement of landmarks and the shape of the jaw.
Read the outline before choosing its name
Step back from the measurements and follow the outside line from a temple to the cheek, down to the jaw and across the chin. Notice where it changes direction. A broad jaw with distinct corners gives a different impression from an equally broad jaw with a gradual curve. Width alone cannot capture that difference. Likewise, a pointed chin is one feature, not an automatic answer.
These common descriptions offer a starting point. The terms overlap, and different styling guides may use them somewhat differently. Pick the row that captures several features together, then check whether the description still seems reasonable with your hair moved away.
| Common label | Overall impression to compare | A useful second check |
|---|---|---|
| Round | Length and width look relatively close, with a curved outline. | Check whether the jaw corners remain soft in even light. |
| Square | Width looks substantial through the forehead and jaw, with clearer corners. | Look at the lower jaw rather than assuming broad cheeks mean square. |
| Oval | The face looks longer than wide with a gradual taper toward the chin. | Compare the upper and lower outline for smooth narrowing. |
| Oblong | Length is the dominant impression, often with relatively similar widths along the sides. | Check that camera angle or raised hair is not creating the extra length. |
| Heart | The upper face looks broader and the lower face narrows toward the chin. | Assess forehead width separately from a widow's peak. |
| Diamond | The cheekbones look widest, with a narrower forehead and lower face. | Expose the temples so hair does not change the apparent width. |
Use a second check when two shapes seem plausible
If you are between round and square, ignore face length briefly and study the transition from cheeks to jaw. Does it turn at a visible corner, or continue in a curve? Then relax your mouth and look again. Jaw tension, facial hair and shadow can all change how angular that area appears. A rounded chin can sit below a broad, angular jaw, so it helps to describe both.
For heart versus diamond, compare the forehead with the cheekbones. A fringe can conceal a broad forehead, while hair tucked behind the ears can make the cheeks seem more prominent. Move those obstructions and repeat the comparison. A widow's peak on its own does not establish a heart shape; the broader upper outline matters more than the small point in the hairline.
For oval versus oblong, ask whether you first notice the length or the gradual taper. Both descriptions can include a face longer than its width. A long face with softly rounded edges may reasonably be described as long oval. Keeping that phrase is more useful than forcing a choice because a questionnaire allows only one answer.
Stop once the same broad description appears in two neutral checks. Taking dozens of selfies under different lights often introduces more variables than it resolves. If your answer changes after moving the camera a little, treat the result as tentative and rely on the features that remain consistent.
Turn the description into one styling experiment
Answering “what is my face shape?” becomes useful when it helps with a real decision. Choose one: a fringe, the width of glasses, the placement of volume in a haircut, or the outline of a beard. Describe the effect you want in plain language, such as more width near the temples or a clearer view of the jaw. That gives you a better starting point than a rule claiming one shape must avoid a certain style.
For a haircut, compare reference photos with a similar hair texture and density. A long oval outline does not tell a stylist how curls spring up, where a part naturally falls or how much time you want to spend drying your hair. Bring those details alongside the face description. Pinning hair temporarily can show an outline, but it cannot reproduce how a finished cut will move.
When trying glasses, check bridge comfort, temple pressure, lens position and whether the frame slips before judging its visual balance. Two frames described as rectangular can have very different widths and depths. View the pair straight on and from the side, then move your head normally. Comfort and a look you enjoy are concrete results; agreement with a shape chart is optional.
Keep a short note rather than a verdict: “cheekbones widest, softly angled jaw, face longer than wide.” It remains useful if you later change your hair, grow a beard or decide another label fits better. Face shape is one small part of appearance. You have finished the exercise when you can explain what you see and test a styling choice without needing the category to settle everything.