Face measurements can help you describe a long outline, a broad cheek area or a tapered jaw, but a flexible tape can produce misleading numbers when it follows every curve. The aim is a repeatable comparison of visible proportions. Choose your landmarks, use the same method throughout and allow for uncertainty. You do not need a perfect ratio, a symmetrical face or a clearly defined hairline to make a useful observation.
Choose visible landmarks before touching a tape
Start in front of a mirror with your head comfortably upright and your hair held away from the sides of the face. Keep your mouth relaxed, avoid clenching and look straight ahead. Use a soft headband or loose clips if necessary. Pulling hair tightly backwards can make the boundary easier to see but can also distract you from the face you normally see with your natural hair texture.
Decide what each measurement will represent before writing a number. For length, a common styling comparison runs from the centre of the visible upper forehead boundary to the lowest point of the chin. For width, you are comparing the visible left-to-right span at the forehead, cheek area and lower jaw. These are practical landmarks for an approximate comparison, not a clinical measurement protocol.
A ruler gives a straight span but must never be pressed against the eyes or used with a sharp end close to them. You can instead use a reasonably distant, straight-on photograph and mark the points on a local copy. Measurements in pixels or on a print are sufficient for comparing proportions within that same image. Do not present them as real-world centimetres unless you have an appropriate scale in the same plane and understand the remaining perspective limits.
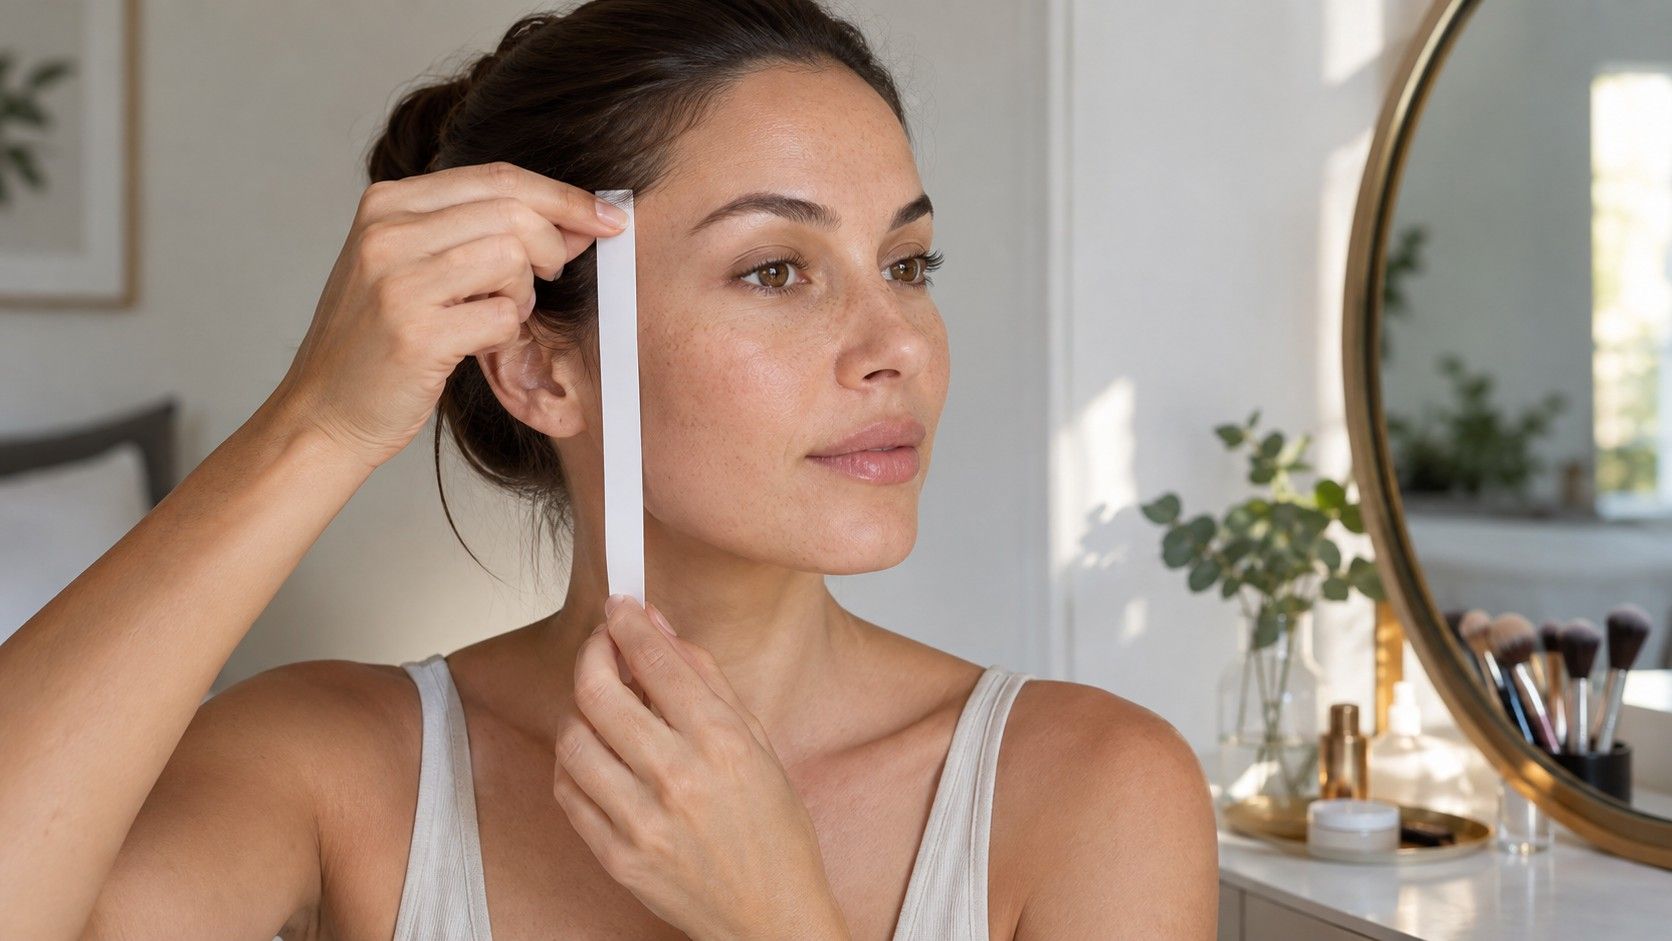
Whatever method you choose, keep it consistent. A forehead width taken directly in the mirror and a jaw width taken from a close selfie may not be comparable. A tailor’s tape is convenient for clothing because it follows surfaces; facial width comparisons need a straight-line span. If holding it straight is awkward, use a photograph rather than asking someone to manoeuvre a stiff object near your eyes.
Measure face length without inventing a hairline
Find the centre of the upper forehead boundary and the lowest visible point of the chin. Compare their separation along the central direction of the face, with the head level. Avoid running a tape down the curve of the forehead, over the nose and around the chin. That curved surface path becomes longer as it crosses projecting features and answers a different question from the frontal length of the face.
The hairline is often the least reliable landmark. A widow’s peak creates a lower central point; a receding boundary can make the upper forehead appear longer; a fringe may conceal it completely. Do not lower or raise an imagined hairline to obtain a familiar category. Record the boundary you can actually identify and write a short note, such as “centre widow’s peak used” or “upper boundary partly obscured.”
If the hairline is absent or difficult to locate, leave that measurement uncertain. You can still describe cheek width, jaw outline and the relationship between the upper and lower face. A face-shape guide that demands one precise top endpoint may be unsuitable for your situation. Choosing a haircut or a pair of glasses does not require solving an unobservable boundary.
Repeat the length measurement after relaxing and resetting your head. A noticeable difference may mean that the chin was lifted or that you chose a different upper point. Keep both readings while you check the setup. Do not average two measurements automatically if they came from different landmarks; settle on one definition first, then repeat it.
Compare the forehead and cheeks at consistent points
For the forehead, choose a horizontal span across its broader visible area above the eyebrows. Note where the endpoints sit relative to the temples. Hair growing across the sides may obscure the boundary, so move loose strands aside without treating the outer edge of the hairstyle as the edge of the forehead. Keep that same level on every repeat.
For the cheek area, compare the widest visible left-to-right span around the cheekbones in the front view. This can be less obvious than a diagram suggests, especially when the face is softly contoured. Use the same pair of visible points instead of pressing around to find bone. Soft tissue and lighting influence the outline you see, which is relevant to styling even when it does not correspond to a skeletal measurement.
On a photograph, draw an imaginary horizontal line through each pair of endpoints. If the head is turned, one side will be foreshortened and the result will be unreliable. Both sides of the face should be comparably visible. Keep the face near the centre of the frame and use a camera farther away rather than an arm’s-length selfie, which can exaggerate the relative prominence of nearer features.
Now compare the spans in the same units. You might find that the cheek area is clearly wider than the forehead, or that the two are too similar to distinguish with confidence. Both are useful results. Differences of a few small marks on a print may come from where you placed the endpoints. Avoid converting a marginal difference into a confident statement that one part is the widest.
Handle the jaw without wrapping around its contours
A common online instruction says to measure from below an ear to the chin and double the result. That traces a side of the jaw, often along a curve, rather than measuring its frontal width. It also assumes that the two sides can be treated as identical. Do not compare that doubled path directly with a straight forehead or cheek width; the numbers describe different things.
For a consistent frontal comparison, use the straight visible span between the outer lower-jaw corners, where you can identify them. Keep the jaw relaxed and the head facing forwards. Some people have prominent corners; others have a rounded transition without an obvious point. If the corner is indistinct, note that limitation rather than moving it until the measurement supports a preferred shape.
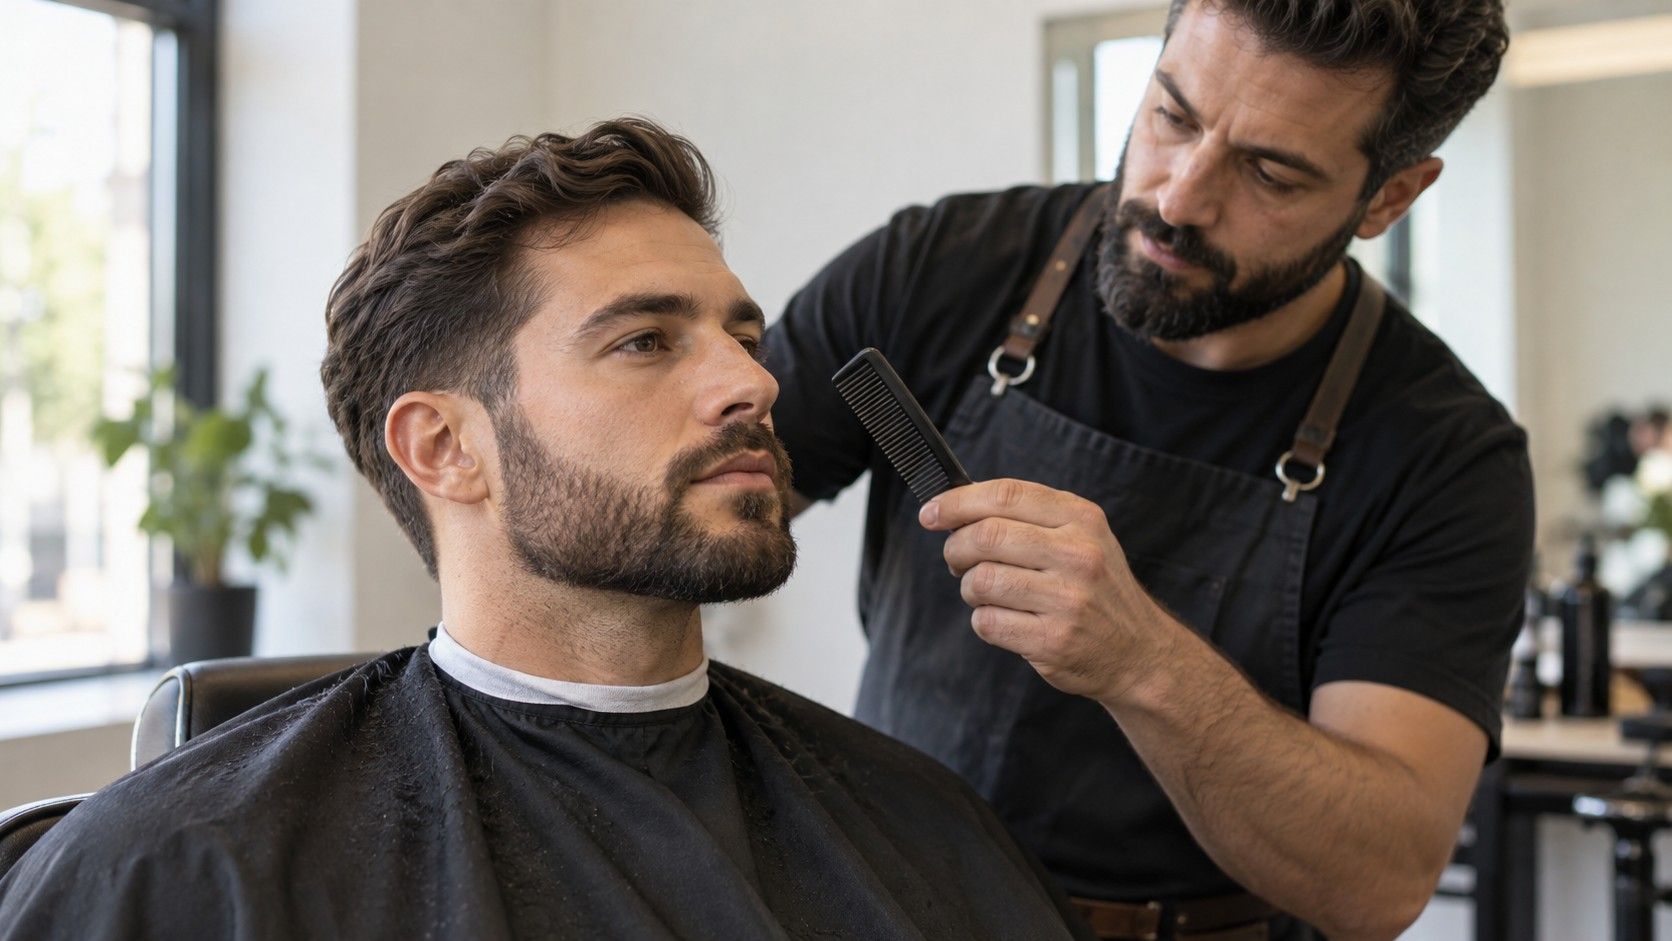
Beards can hide the underlying boundary. You can describe the visible bearded outline for a grooming decision, but label it as such. The same applies to hair falling against the cheeks. A photograph of a full beard and a clean-shaven photograph are not interchangeable measurements of the visible lower face. For styling, both may be useful if you keep the distinction clear.
Also look at the route from the jaw corners towards the chin. A broad jaw can end in a rounded chin, and a narrower jaw can still have angular corners. Width alone does not capture those differences. Record a few plain words next to the number, such as “soft curve” or “narrows towards chin.” That gives a barber or stylist more to work with than an isolated calculation.
Record uncertainty instead of forcing a ratio
Use a small record that preserves the method as well as the reading. Repeat each span two or three times with the same landmarks and setup. If the readings disagree, check the endpoints, camera position and head angle before doing arithmetic. More decimal places cannot repair a vague boundary or a tilted photograph.
| Comparison | What to record | What can change the result |
|---|---|---|
| Face length | Upper central boundary used and chin endpoint | Hairline uncertainty and chin tilt |
| Forehead width | Level above brows and visible temple boundaries | Hair at the sides and endpoint choice |
| Cheek width | Same visible cheek landmarks on each repeat | Head rotation, light and camera distance |
| Jaw width | Straight frontal span and how clear the corners are | Clenching, beard outline and curved tape paths |
Suppose repeated cheek readings cluster around 14 units while the jaw varies between 12 and 13 using the same image. You can reasonably describe a narrower lower face in that view. If the forehead and cheek readings alternate between 13.8 and 14.1 as you move the endpoints, call them similar. These example numbers illustrate comparison only; they are not thresholds for any category.
There is no universally validated set of numeric cutoffs that assigns everyone to the familiar styling labels. Different charts define oval, round, square, heart and diamond differently, and many faces combine features from several descriptions. A length-to-width ratio can summarize your chosen measurements, but it cannot remove the uncertainty in how you obtained them.
If you were wondering how to measure face shape for a specific purchase, take the final step back to that purchase. Glasses need a comfortable bridge, suitable width and stable temples. Haircuts need to work with density, growth direction, maintenance time and personal preference. Approximate face measurements can suggest styles to try; the practical fit checks and the way you enjoy wearing them decide what stays.